IMG 0567
IMG 0579
DSC0627
DSC0629
DSC0630
DSC0631
DSC0632
DSC0633
DSC0626
DSC0628
DSC0634
IMG 0373
IMG 0373r
DSC0635
DSC0636
DSC0638
DSC0639
DSC0643
IMG 0374
IMG 0549
DSC0637
DSC0640
DSC0641
IMG 0553
IMG 0552
IMG 0540r
IMG 0582
IMG 0583
IMG 0576
IMG 0570
IMG 0569
IMG 0568
IMG 0505
IMG 0504
IMG 0503
IMG 0502
IMG 0501
IMG 0500
IMG 0499
IMG 0498
IMG 0497
IMG 0496
IMG 0495
IMG 0490
IMG 0489
See also...
Authorizations, license
-
Visible by: Everyone -
All rights reserved
-
84 visits
IMG 0554


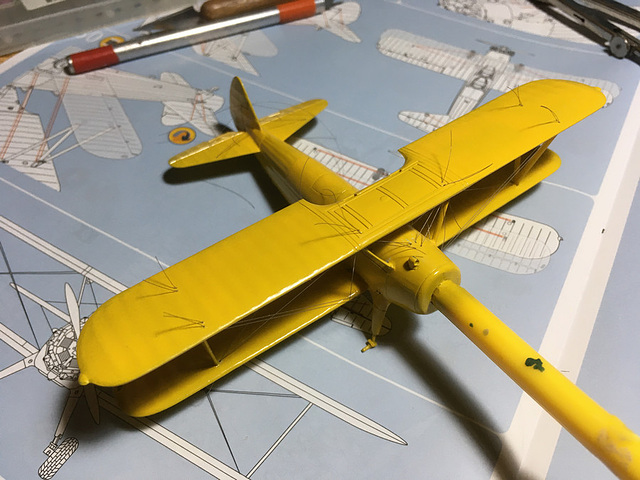
Rigging complete. After 24 hours (to be sure cyano has set) I will trim and sand the rigging holes as required.
- Keyboard shortcuts:
Jump to top
RSS feed- Latest comments - Subscribe to the comment feeds of this photo
- ipernity © 2007-2025
- Help & Contact
|
Club news
|
About ipernity
|
History |
ipernity Club & Prices |
Guide of good conduct
Donate | Group guidelines | Privacy policy | Terms of use | Statutes | In memoria -
Facebook
Twitter

Thanks for your comment :)
See my Potez 25 album for pictures of a more complex rigging subject with photo etched wire attachment points and turnbuckles.
Sign-in to write a comment.